Thought I would share my 10 minute makeup look for y’all. Most days I am waking up, grabbing coffee and running out the door before I even know why I am running out the door – ha
After dealing with uncontrolled rosacea for a good portion of my life, I never left the house without foundation on so I have perfected the quick “I woke up this way” makeup look. Keep reading if you want to perfect it too.
If you want to know more about my Rosacea story or skincare products I use to help control the redness and uneven skin, click the links!
Step by Step with Makeup I use!
Step one:
I am hit or miss if I prime my face or not. Usually if I am in a rush, I don’t take the time but if I am going out or to an event I will. Hey, I am human. I’ll at least make sure to moisturize.
First I will dampen my beauty blender and apply my foundation onto my clean face. I start with a nice light layer and then build up from there if need be. When my rosacea was worse, I would always add a second layer to my cheeks and nose to try to prevent break-through redness.

This is the foundation I grab that is affordable and reliable. It lasts at least 12 hrs and is medium coverage and buildable to full coverage.
I am usually 420 at my normal shade but when I am self-tanned I am 430. When testing the shade on yourself, keep in mind it looks lighter on the skin at first then darkens within a few minutes of being on your skin.
Step Two:
After applying my foundation, I will then go in with my Concealer. I like my concealer to be a few shades lighter than my actual color. I place a couple dots under both eyes, ender my eyebrows, down the bridge of my nose and two little lines on my forehead. This is the point I start to look tribal like a warrior but don’t worry, It’ll blend out.
I then take my beauty blender and begin to blend out the concealer to stay in general area I placed it. Make sure it’s nice and blended with no obvious lines from the concealer and the foundation. I also prefer to blend the concealer below my brow onto my eyelid.
You may start to think you look kind of funny at this point and that I am steering you wrong, but trust me. It’ll all turn out perfect!
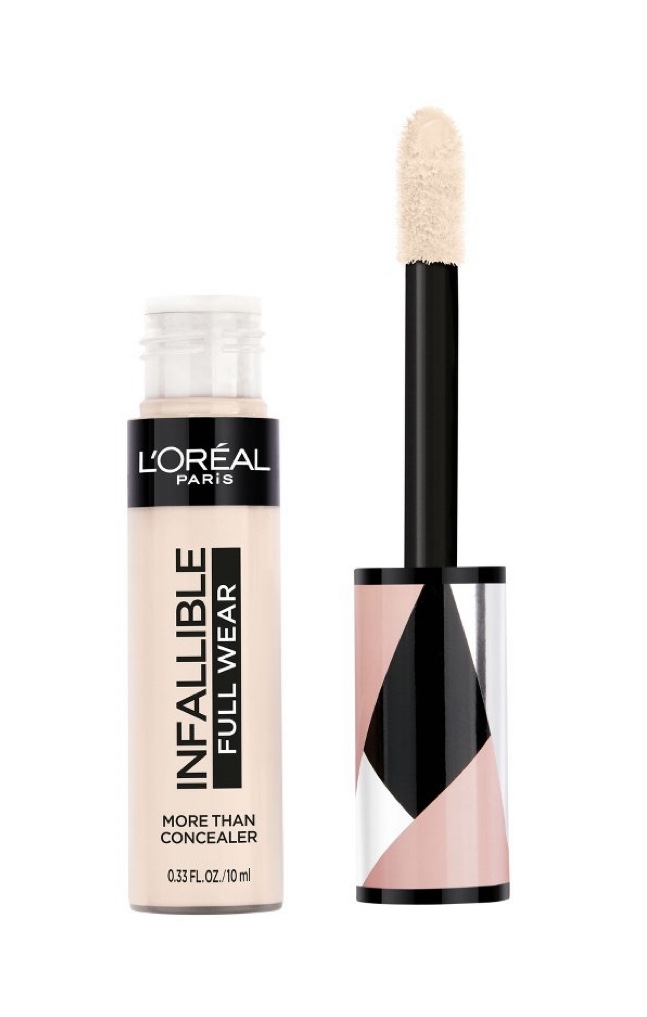
This is my new favorite concealer. It lightweight but long lasting and hides all the imperfections. It also blends out nicely and the formula looks airbrushed on the skin.
I chose Porcelain for that bright white under eye. It makes me look more awake.
Step Three:
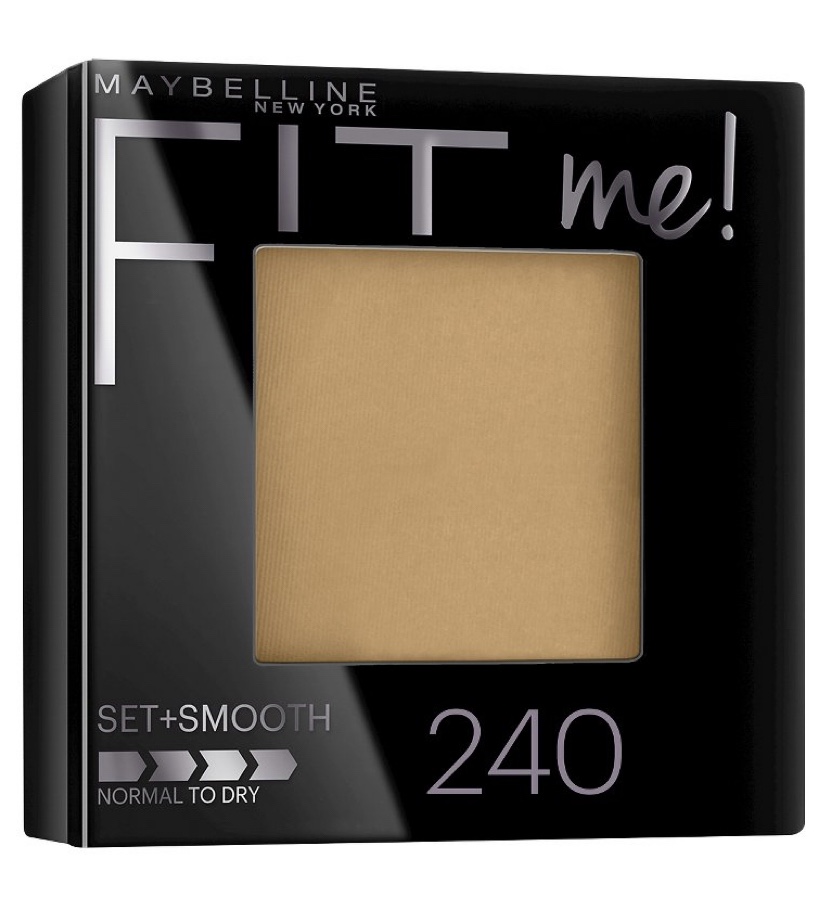
At this point I like to set my liquid foundation and concealer with powder. It helps to lock in and set the look for longer wear time. You can use an actual setting powder, but lately I have been been using this:
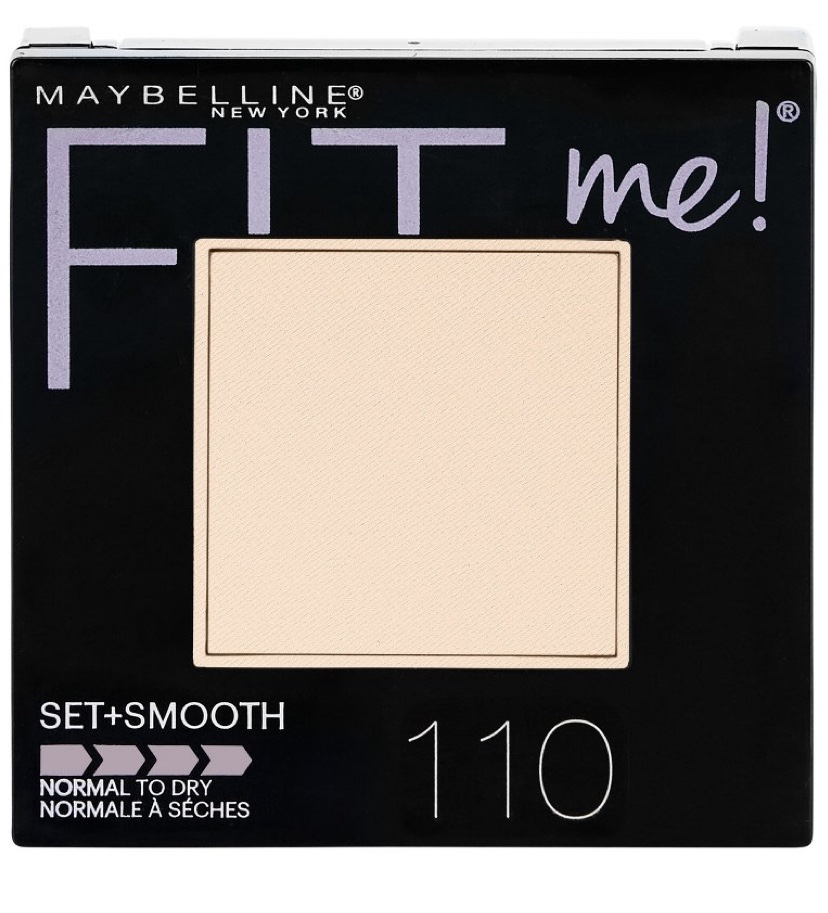
This is in shade Porcelain and I use this under my eyes and everywhere else I used my concealer. This powder sets and smooths the skin and can be used for a buildable shade to lighten your under eyes even more.
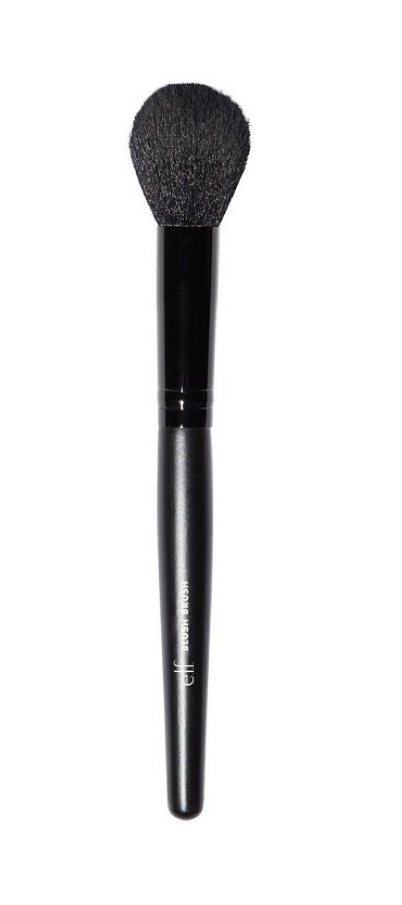
I would use a brush like this one that Elf makes to apply the powder.
You can let the setting powder bake, by patting a heavy layer of the powder under the eye and letting it set for a few minutes then brush the excess powder off and blend.
Step Four:
This could be your final step if you are only wanting to perfect your face. Make sure you continue reading to see how else I like to glam it up by adding: Eyeliner, mascara, highlight and maybe even pencil in my brows.
So here you will take your bronzer or contour shade and apply it along the high points of your face. Start with a light hand and then build up where you feel you need more depth or shadow on your face.
This step will allow you to transform your face to look slimmer and sunkissed.

I apply mine under my cheek bones and just on the outside of my face. Making sure NOT to bring the contour color all the way to the apples of my cheeks. Then I apply it above my temples and along the top of my forehead along my hairline. If you want, which I prefer on myself, is to apply it along the sides of your nose to make it appear more narrow. Attached is a photo for reference on application.
I like to use this powder for contour because there is no shimmer so its more natural looking.
I also like to take a small blending brush with this color to place on the crease of my eyes to add more depth. This is optional. You can just add mascara and be done at this step.
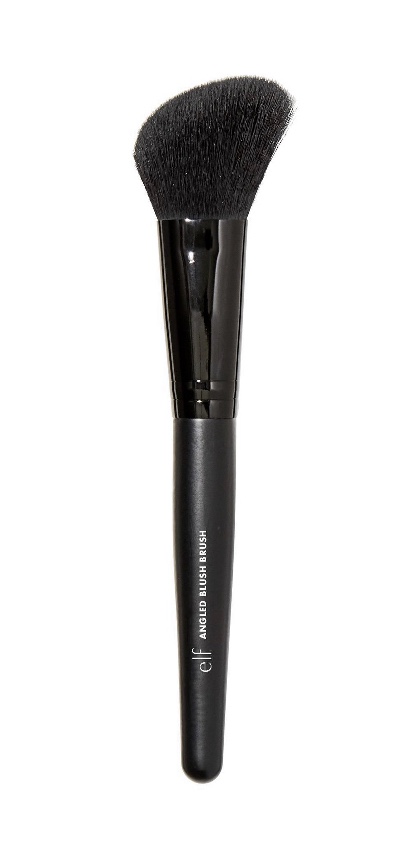
Contour Brush I use, I like the angled taper.
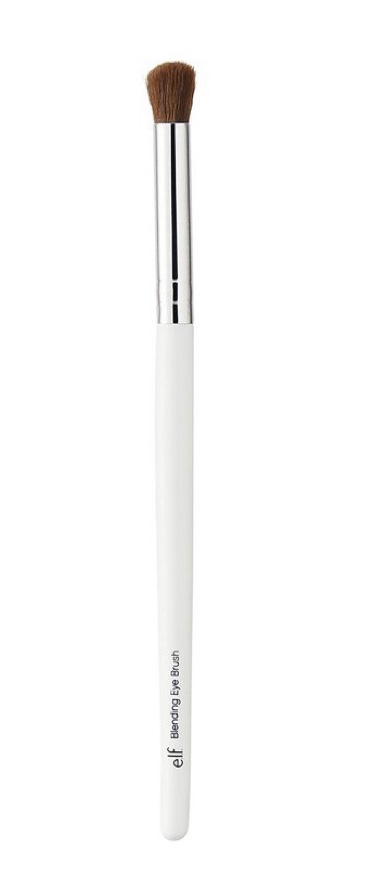
Blending Brush I would use for the crease of my eyes.
Optional Next Steps:
So you have a couple more minutes to spare? Maybe you have gotten so quick at the above steps you can squeeze in these as well. Whatever the case, I enjoy finishing my look like this:
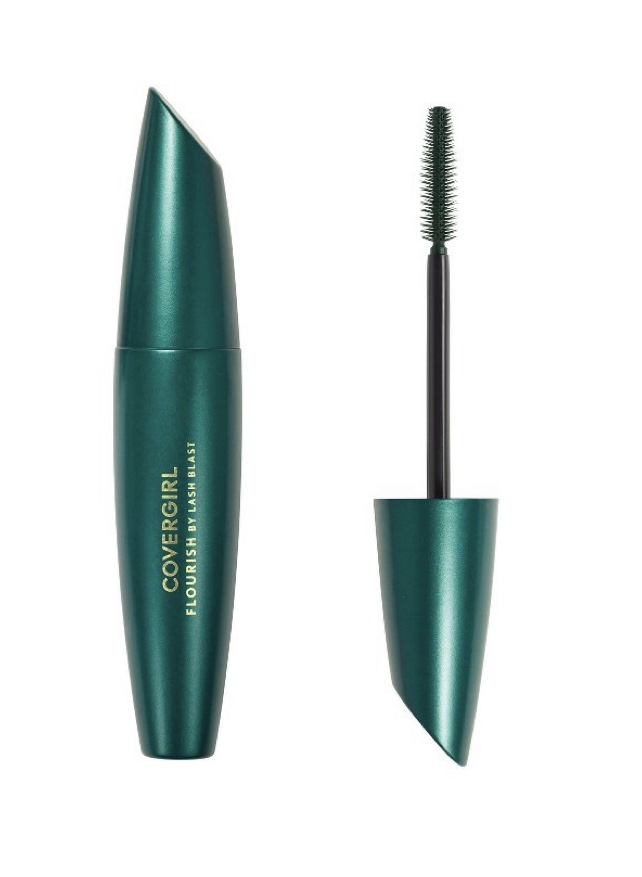
I enjoy this mascara for a natural look. The brush allows for length and volume but also precision to separate the lashes and avoid clumping.

I love this 24hr wear lip. the color and gloss combo is perfect for a shiny nude lip.
You can combine this nude lip with a darker lip pencil. I use NYX Sandstorm or Suede to line my lips then use this to fill.
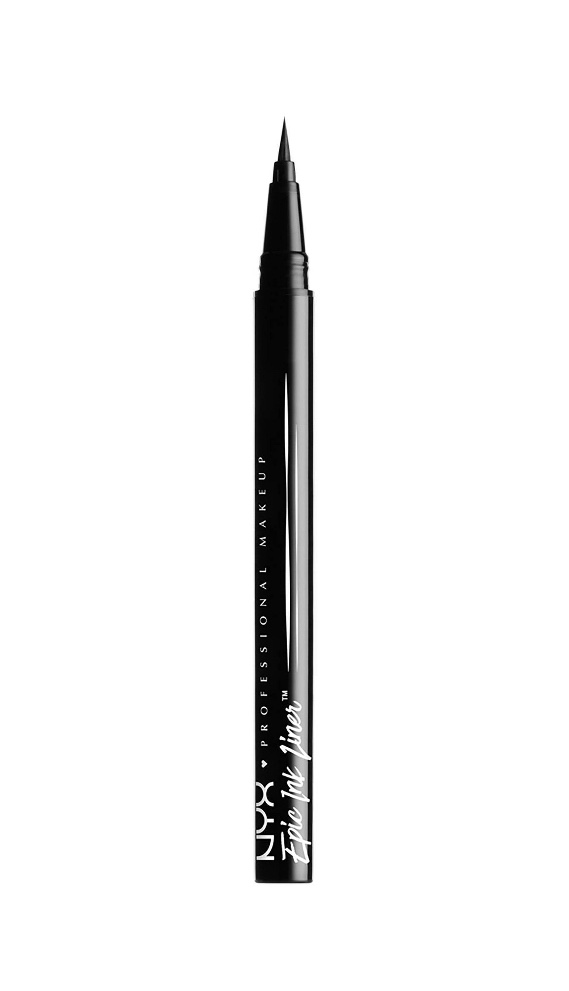
This is a smooth eyeliner pen that makes a clean even line. Just remember practice makes perfect! I apply this to the upper lid, and a brown pencil to the lower lid only on the outer edge.
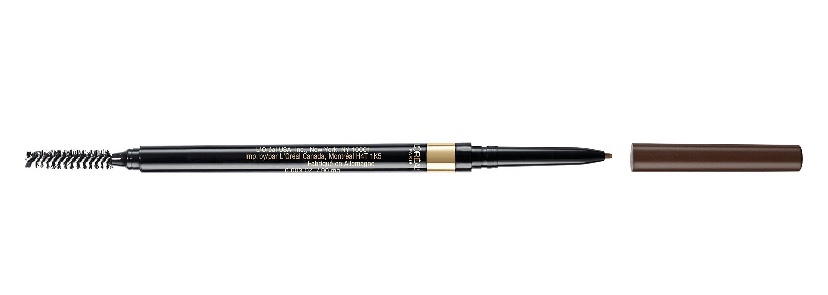
I like this Brow tool because it has both the pencil for precision and the brush to finish it off.
To find out how to tint your brows so you can skip this step, CLICK HERE.
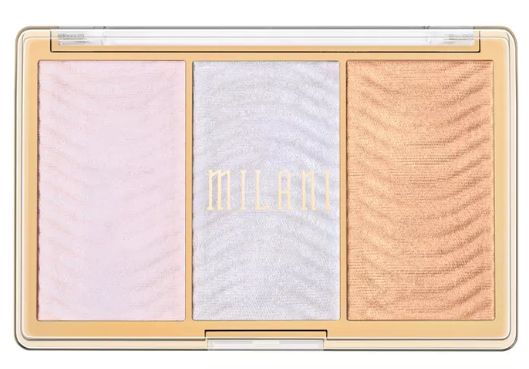
My favorite highlight from Milani at Target. Add to cheek hollows and cheek bones. I then take the white to highlight the inner corner of my eyes and the brown bones.
Other Makeup Related Products Good to Have.
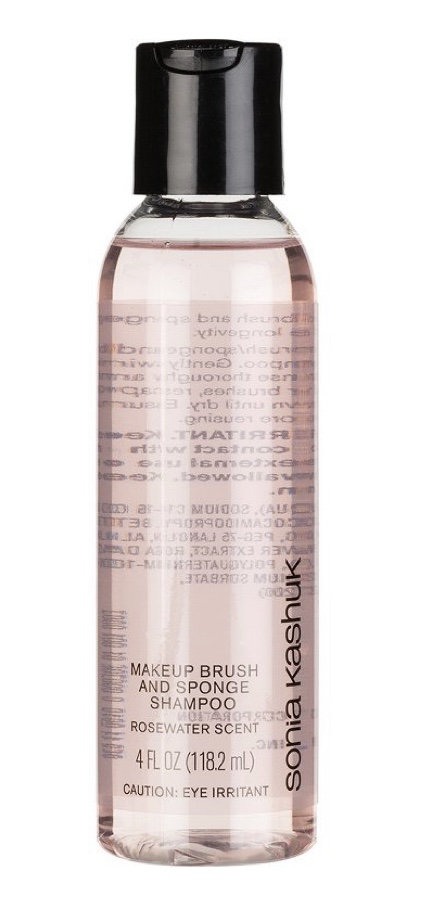

Beauty Blender // Makeup Face Towels // CeraVe // Brush Cleaner
If you have any other questions about how I do my everyday makeup look, leave a comment or reach out to me on any of my social media pages. All of them are linked in the top right icons. If you want to see a video tutorial, go to my IGTV and check it out.
Also check out my page HERE of all my makeup must haves. Each image is linked to shop. I am not affiliated with any brands or products on this page or my “must have” page. This is just my personal opinions and preferences for makeup.