If you’re like me, you like to save money wherever you can. Maybe you just don’t have the time to go get your brows done every three weeks. Whatever it is, you’re here and want to know how to save money by tinting and grooming your brows from home!
*Disclaimer: I am not an expert, this is just what I personally do to achieve the brows that I want.
Supplies You’ll Need
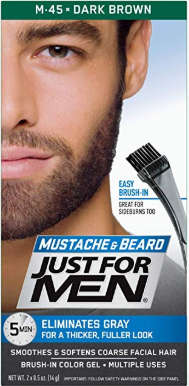
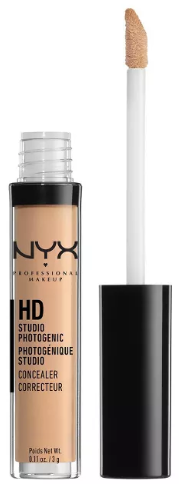
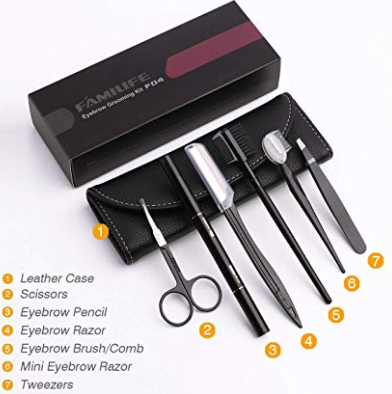
Just for Men // Elf Brush // Concealer // Brow Kit and other great Amazon finds listed here!)
Step one:
Start by removing all your make-up. You want a nice clean face and clean brows so you can see exactly where you want to dye for a more accurate shape.
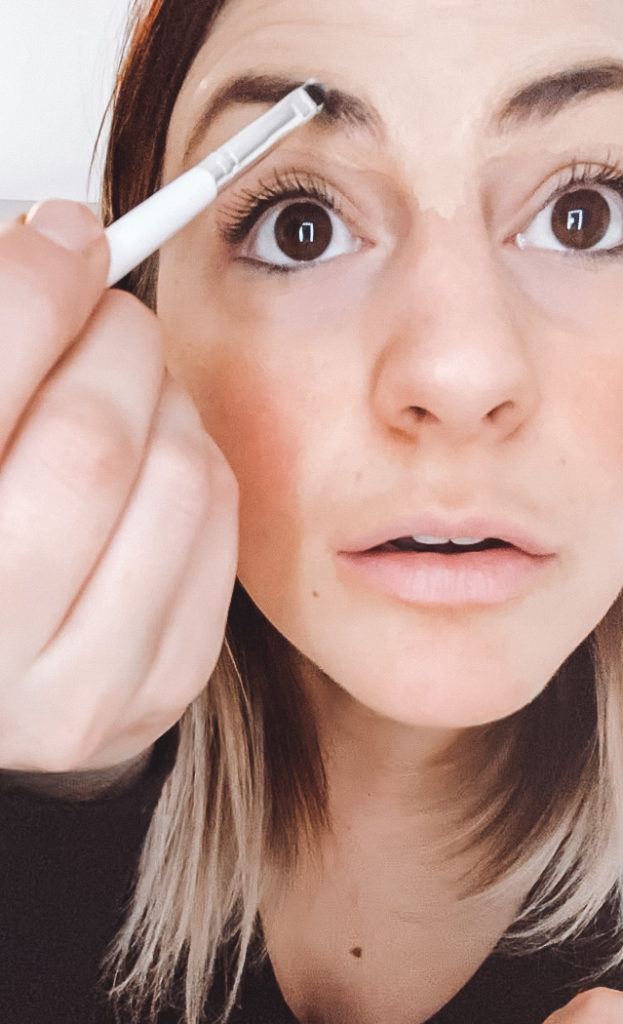
Step Two:
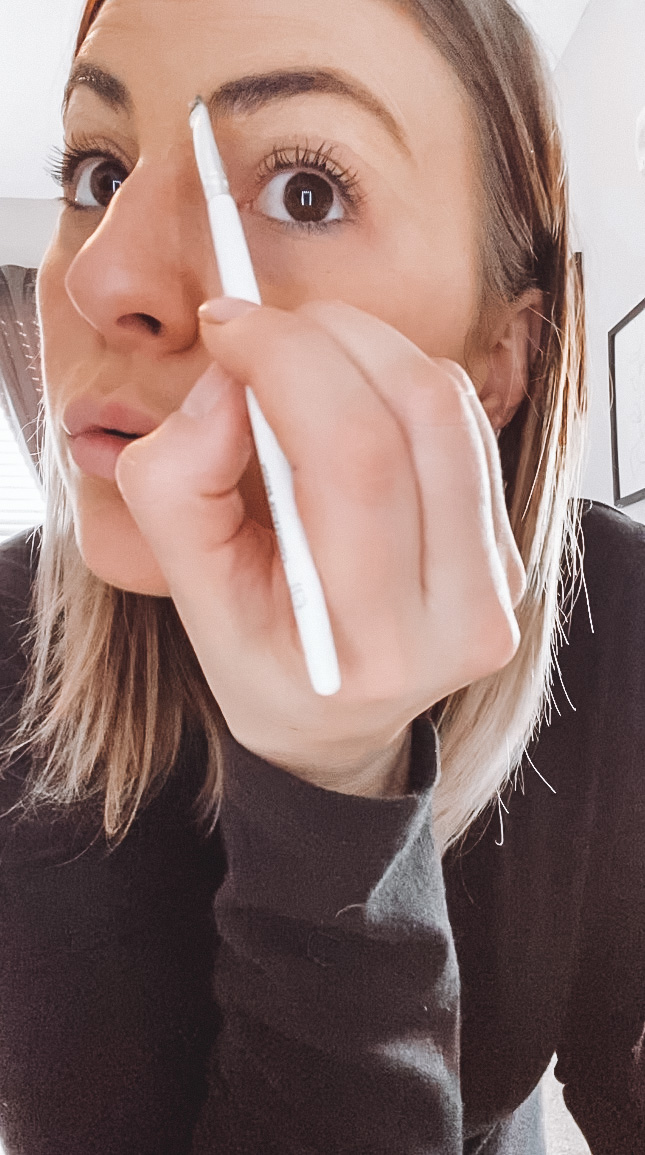
Once your face is squeaky clean, use your concealer to outline your brows. Don’t forget to do between the eyes as well. The goal with this step is to cut out the shape you want and this helps prevent the dye from staining the skin you don’t want to be colored. Others have used coconut oil as well to trace out their brows, just be sure not to get any on the hair or area you are tinting.
Step Three:
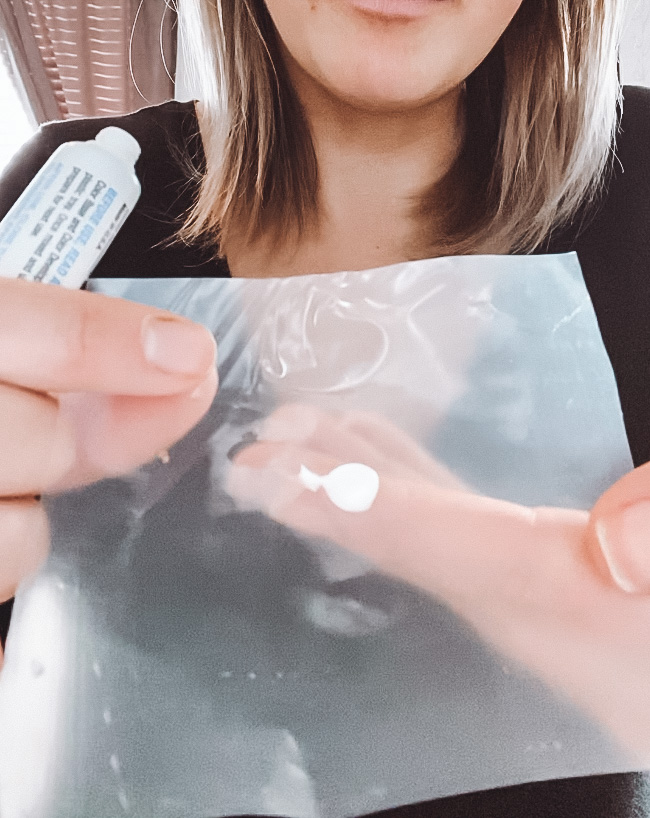
Now that you are concealed, mix your dye 1:1. The tubes that come in Just for Men are resealable so you can use them over and over. It’ll last you months! Bonus: saving that money!
I mix up about a pea size of the developer and the color. Then using your Elf concealer brush, or whatever you chose to use, stir the two together and then start painting it on your brows carefully. I then wait about 5mins for it to process. Depending on the shade you currently have and what you desire will change how long you leave it on your brows.
Tips: I like to start in the more sparse areas of my brow to allow it a little more time to develop then do the rest of my thicker brow areas.
I make sure to rub the dye into the hair so that it can stain my skin. This allows your brows to look filled in until the dye fades off the skin.
If your brows are a little dark, it’ll fade some in the next couple of days.
Step Four:
Using a small amount of soap and water, wipe off the concealer and dye after 5mins of developing time. Depending on how dark your brows currently are and how dark you want them, it will determine how long you will need to leave the dye on.
Step Five:
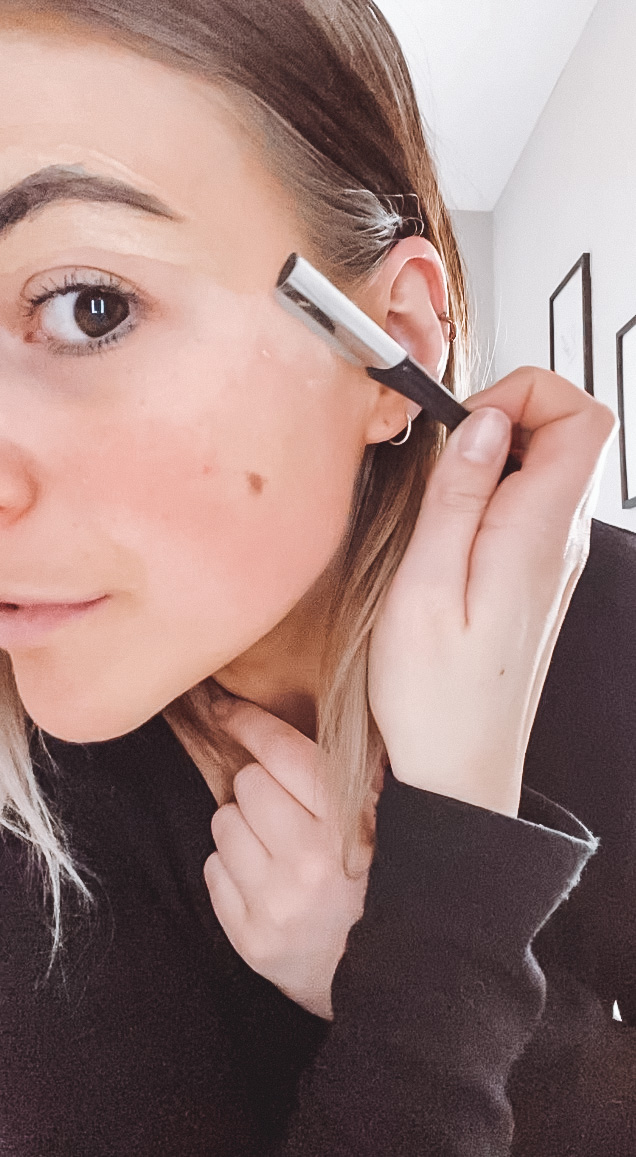
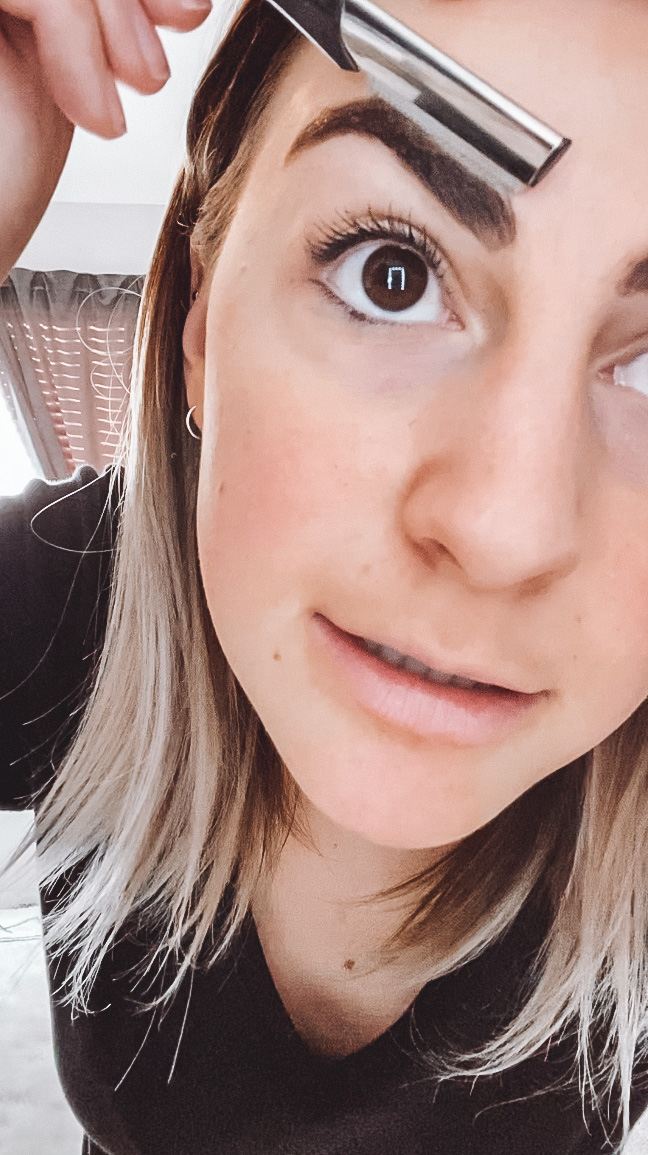
I like to take the blade that comes in the Brow kit and use it to clean up around my brows. I use it on my face to remove the peach fuzz. By doing so, my makeup sits nicer on my face and my brows look more defined with clean edges. Using the blade all over my face also removes dead skin and leaves my skin feeling soft. It also doesn’t bother my sensitive rosacea skin. Check out how my makeup looks HERE with this quick everyday makeup look.
Check out HERE how I transformed my face from red and inflamed to smooth and even-toned. I even talked about my favorite skincare line that made it all possible!
Step Six:
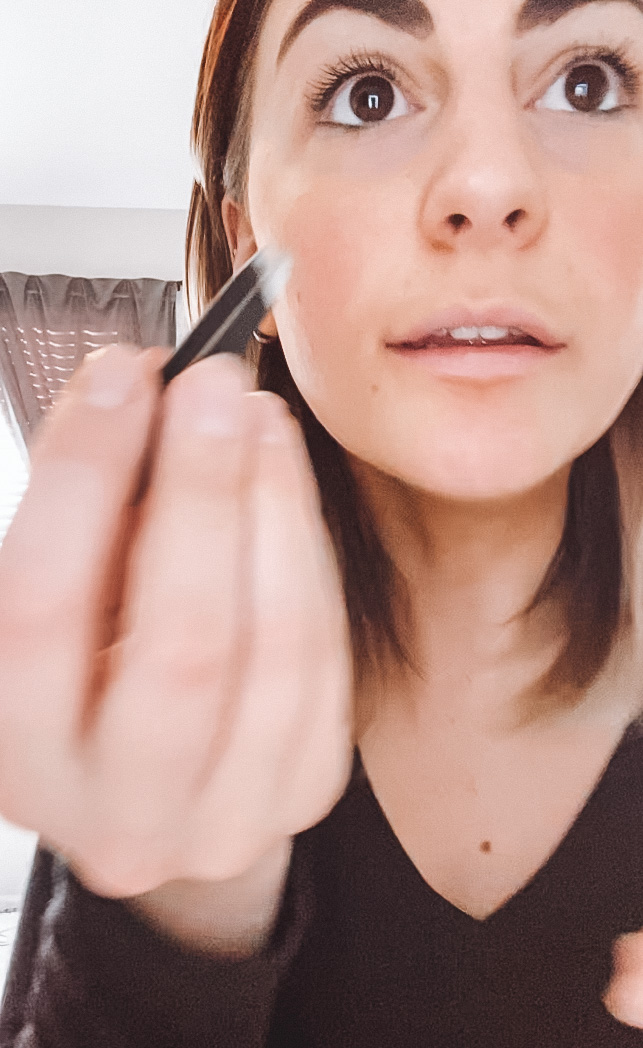
I finish off with trimming and tweezing whatever I don’t want. I brush my brows upward to trim with the scissors and then tweeze the underneath to clean up the lid and end with the tail of the brow.

Your Brows are now Perfect!
That is it! It usually only takes me about 15 minutes to get this done. I do it around once a month or as needed. As I said, I love after tinting my brows I don’t feel the need to fill them in because the skin is stained for a couple of days.
If you would like to see a video of me tinting and grooming my brows, stop over to my Instagram HERE. I go over the products in more depth as well.
